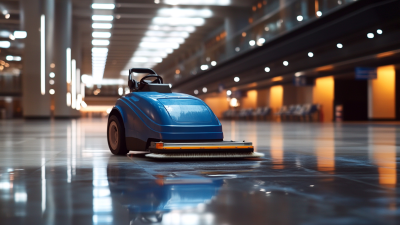
A Riding Floor Scrubber can turn a large, dusty floor into a clean, even surface in far less time than manual mopping. But the machine works best when the operator prepares carefully. Grit left near the brush can scratch a polished floor. Too much cleaning solution may leave a slippery film. Small details matter.
This guide explains how to inspect, set up, and operate a Riding Floor Scrubber with care. It covers choosing the right pad or brush, filling the solution tank, adjusting water flow, and making steady cleaning passes. It also explains how to handle corners, ramps, and crowded areas without rushing. Before starting, check the machine’s manual and follow the site’s safety procedures. Models differ, and one setting will not suit every floor.
Cleaning-industry consultant Mike Sawchuk is a relevant professional voice, but no verified quotation from him on operating a riding scrubber was provided. To avoid inventing one, this guide uses an editorial reminder instead: “Clean floors come from sound preparation, controlled passes, and consistent machine care.” It is a simple principle. Still, it deserves reflection: even a skilled operator can miss residue beneath a machine or overlook a worn squeegee. Watch the floor as you work, not just the controls. A clean-looking aisle is not always a fully dry one. After each shift, empty and rinse the tanks, inspect the brushes, and leave the machine ready for its next operator.
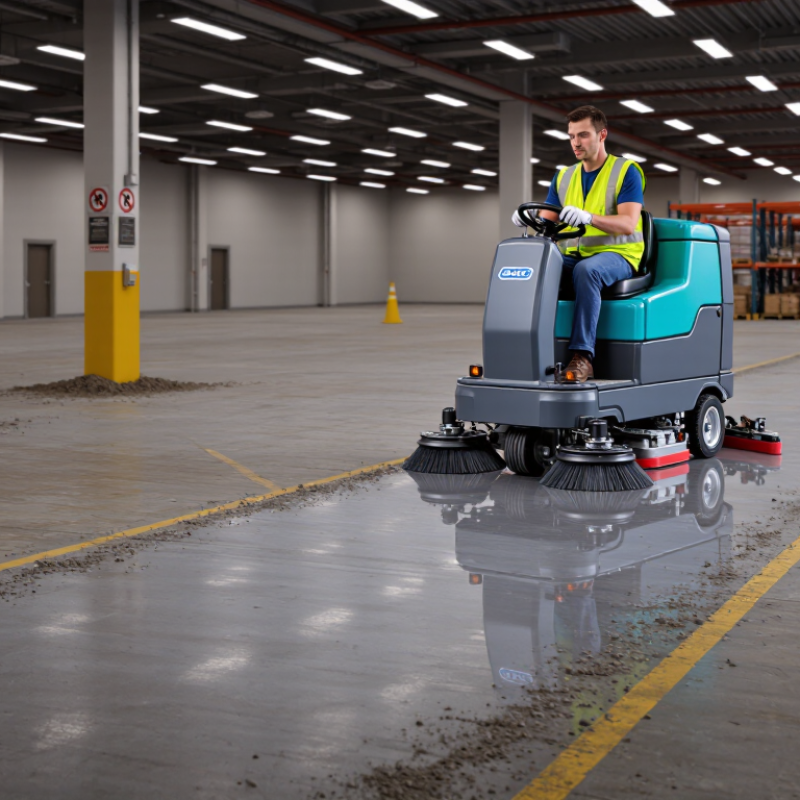
Before starting a riding floor scrubber, inspect its safety features with IEC 60335-2-72 in mind. This standard covers safety requirements for certain commercial floor-treatment machines, but the applicable edition and machine configuration matter. A daily walk-around cannot prove compliance.
Check the emergency stop, service brake, steering, and seat or operator-presence switch. With the machine stationary, confirm controls respond as described in its manual. Look for cracked guards, loose battery connections, exposed wiring, and damaged warning labels. Check that the reverse warning works, if fitted. Small details count. A worn pedal can feel normal until the floor is wet. Never bypass an interlock to keep working. That shortcut changes the risk.
Park on level ground before inspection, lower the scrub deck, and switch off the machine as instructed. Keep hands clear of moving parts. If a control fails, tag the machine out and contact a qualified service technician; do not guess at electrical repairs. Record the fault and the date. This is useful evidence, though paperwork alone is not safety. Manufacturers’ instructions and professional testing remain essential for confirming that a specific scrubber meets the relevant standard.
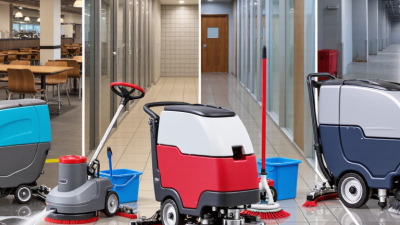
Before operating a riding floor scrubber, walk the entire route and remove anything that could obstruct the machine. Pick up loose packaging, move carts, and check for hoses or cables near the floor. Look around corners and doorways, where pedestrians may appear suddenly. If a spill or uneven surface needs attention, handle it before starting the scrubber. A quick walk-through can prevent awkward stops later.
Place wet-floor signs at entrances to the cleaning area and along approaches from nearby corridors. Keep them visible from a distance, not tucked behind a door or cleaning cart. Use enough signs to guide people around the full route, especially at intersections. Check that the route does not steer pedestrians toward another wet section. One sign can feel sufficient, but it may be easy to miss. Recheck the placement if people or equipment shift during cleaning.
Tips: Pause before entering a busy aisle. Confirm the path is clear, the signs are upright, and pedestrians can see them. If the area changes, stop and adjust the setup rather than assuming everyone noticed.
Before fitting brushes or pads, check the scrubber’s manual for the correct size, attachment, and floor type. A soft pad may suit a finished surface, while a more aggressive brush can mark delicate flooring. Turn the machine off and follow its instructions for safe installation. Check that the brush sits evenly and locks into place. A slight wobble is easy to miss. It can leave uneven cleaning marks.
Use only detergent types and dilution rates approved for the machine and floor. Measure the concentrate rather than estimating by eye; too much can create foam, residue, or slippery patches. Add water and solution in the order specified by the manual, and observe any temperature limits. Small details matter. Run a short test in an inconspicuous area, then inspect for streaks, excess suds, or surface changes. If foam rises quickly or the floor feels tacky after drying, stop and recheck the mixture and brush choice. I have found that even careful setup can need adjustment when soil levels or floor finishes change, so record what worked and verify it against the manufacturer’s guidance before the next shift.
These bars show the approximate concentrate volume for each example ratio when mixed with 10 L of water. They illustrate dilution math only—not recommended scrubber settings. Always follow the detergent label and scrubber manual for the correct product, dilution, brush or pad, and machine settings.
On a riding floor scrubber, straight, overlapping lanes help prevent narrow dirty strips between passes. Use a small, consistent overlap, often a few inches, and confirm it against the machine manual. Start near a wall, travel steadily, and use the cleaned lane edge as your guide. That gap matters. At turns, slow down and keep the squeegee aligned to limit water trails across the next lane.
Treat theoretical productivity as a best-case ceiling, not an hourly promise. Estimate it by multiplying cleaning width by travel speed, then plan for roughly 70–80% of that figure. For example, a 2.5-foot cleaning path at 3 miles per hour covers about 39,600 square feet per hour on paper. A practical target is around 27,700–31,700 square feet per hour before unusual delays.
Real routes lose time to corners, columns, parked equipment, heavy soil, and tank service. Expect interruptions. If water remains behind the machine or lanes look streaky, reduce speed and inspect the squeegee. Make another pass only where needed. Record the area cleaned and refill stops during a normal shift; your first estimate may be optimistic. Keep notes.
At the end of a shift, park on level ground, lower the brushes, switch off the machine, and remove the key. Wear suitable gloves before draining the recovery tank. Empty it at the site’s designated disposal point, then rinse it with clean water. Drain and rinse the solution tank too; leftover detergent can leave residue and odors. Check corners and drain filters for grit or hair. Leave tank lids open while the interiors dry. It is easy to miss a little debris.
Inspect the squeegee blade for splits, embedded grit, or uneven wear, and wipe it clean. A damaged blade can leave wet streaks behind. The National Floor Safety Institute reports that slips and falls account for more than one million U.S. emergency-room visits annually, so check the floor after cleaning. Then inspect battery cables and connectors for looseness, damage, or corrosion. Charge only as directed in the machine manual, with the area ventilated. Check electrolyte levels only on serviceable flooded batteries; sealed batteries do not need that check. Small details matter. I still find tank corners easy to overlook, so a flashlight helps.
| Area | After-Use Task | How to Do It | Check for | Ready-for-Next-Use Condition |
|---|---|---|---|---|
| Machine parking | Park and secure the scrubber | Park on a level surface in a designated service area. Lower or raise attachments as directed by the operating manual, set the parking brake, and switch the machine off before cleaning. | Stable parking position; no active movement or running components. | Machine is switched off and safe to service. |
| Recovery tank | Drain the used solution | Wear suitable protective equipment. Drain the recovery tank through its drain hose or outlet into an approved disposal point, following site and local wastewater requirements. | Hose, cap, and outlet are intact; waste is not discharged where prohibited. | Tank is empty and the drain fitting is closed securely afterward. |
| Recovery tank | Rinse and inspect the tank | Rinse the tank with clean water. Remove visible debris, then check the tank, lid, float shutoff, and seals for residue, damage, or buildup. | Float moves freely; lid and seals sit correctly; no cracks or persistent heavy residue. | Tank is clean, with the lid and fittings properly secured. |
| Solution tank | Drain leftover cleaning solution | Empty unused solution through the designated drain. Follow the product label and site procedure for handling or disposing of the remaining solution. | Drain valve works and there is no visible leakage. | Tank is emptied as required and the valve is closed securely. |
| Solution tank | Rinse and check the tank | Rinse with clean water when required by the machine instructions or cleaning chemical guidance. Check the filler opening, filter, and tank interior for debris or residue. | Filter is clear; tank and fittings show no visible damage or leaks. | Tank is clean enough for the next fill and all fittings are in place. |
| Squeegee assembly | Clean the squeegee blades | Remove debris from the blades and rinse them with clean water. Wipe away residue, following the manual for any blade-removal procedure. | Blades are free of grit, strings, and other debris. | Blades are clean and refitted or positioned correctly. |
| Squeegee assembly | Inspect blades, wheels, and suction path | Look along the full blade edge for tears, uneven wear, or deformation. Check the squeegee wheels and vacuum hose for blockage, damage, or loose connections. | Blade edges are even; wheels turn freely; hose and connections are clear and secure. | Assembly is ready to collect water effectively; damaged parts are reported for service. |
| Battery | Inspect battery condition and connections | With the machine switched off, look for visible damage, corrosion, loose connections, or unusual heat. Do not touch exposed conductors or open battery components. | No visible damage, corrosion, loose cables, or unusual heat; battery area is dry. | Any fault is reported and the machine is not charged or used until assessed. |
| Battery | Charge when needed | Use the charger and charging procedure specified for the machine and battery type. Charge in the designated, adequately ventilated area; keep the battery and electrical connections dry. | Charger and cables are undamaged; charging area is clear and suitable. | Battery is charged according to the manufacturer’s instructions, with no improvised connections. |
| Final check | Leave the machine clean and ready | Confirm tanks are drained or prepared for storage as instructed, caps and hoses are secured, and tools or debris are removed from the machine. | No leaks, loose parts, or water left around the machine. | Machine is stored in its designated area and any maintenance issue is recorded. |